
A Step-by-Step Guide to Measuring Your Bathroom for a Wheelchair-Accessible Layout

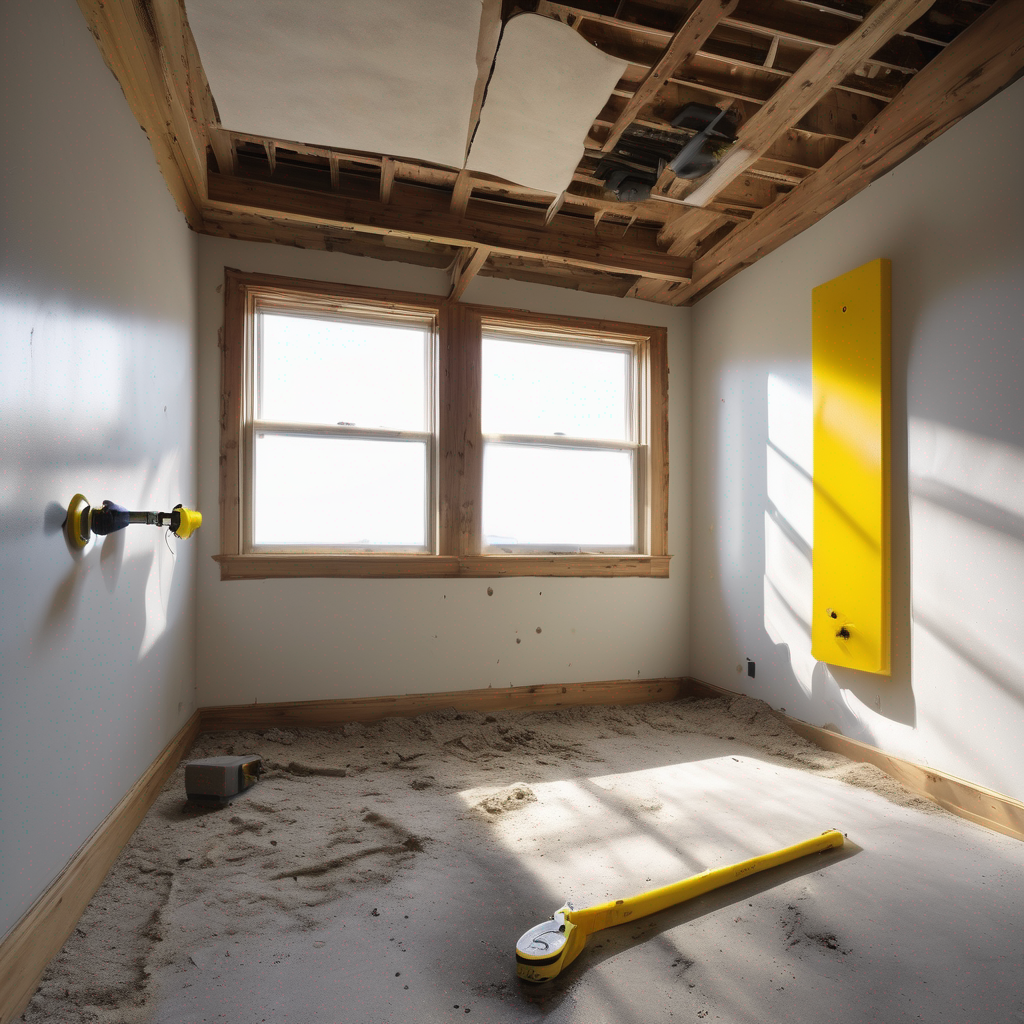
Your definitive resource for transforming a conventional bathroom into a space of safety, independence, and dignity. Precision is the foundation of accessibility—this is where you begin.
Creating a truly wheelchair-accessible bathroom is a project where millimeters matter. It's an undertaking that transcends mere aesthetics, aiming for a profound impact on daily life. Unlike a standard renovation, an accessible design isn't just about new tiles and fixtures; it's about engineering freedom and confidence. The success of this transformation hinges on one crucial first step: meticulous, accurate measurement. This guide provides the detailed process for measuring a bathroom for accessibility, ensuring every inch serves the user's needs.
This is not just a checklist. It's a strategic blueprint to empower homeowners, family members, and contractors to gather the essential data needed for a flawless accessible bathroom remodel.
Phase 1: Assembling Your Measurement Toolkit
Before you extend a single tape, gathering the right instruments will ensure accuracy and efficiency. Precision tools yield precise results, which are non-negotiable in accessible design.
- 25-Foot Tape Measure: Your primary tool for most wall-to-wall and fixture measurements. A locking mechanism and a sturdy, wide blade are essential.
- Laser Distance Measurer: Ideal for quickly capturing longer dimensions like room length and ceiling height with high accuracy.
- Graph Paper & Clipboard: The classic method for sketching the room's layout to scale. Visualizing the space helps identify potential challenges early.
- Digital Camera or Smartphone: Document everything. Take photos of plumbing locations, electrical outlets, window placements, and the current door swing. These visual records are invaluable.
- Level: Crucial for assessing floor slope, especially when planning for a curbless, roll-in shower.
Phase 2: The Foundational Blueprint & Critical Clearances
This phase is about defining the canvas you're working with. These core measurements dictate every subsequent decision in your design. While ADA guidelines are for public spaces, they provide the gold standard for safety and function in residential design.
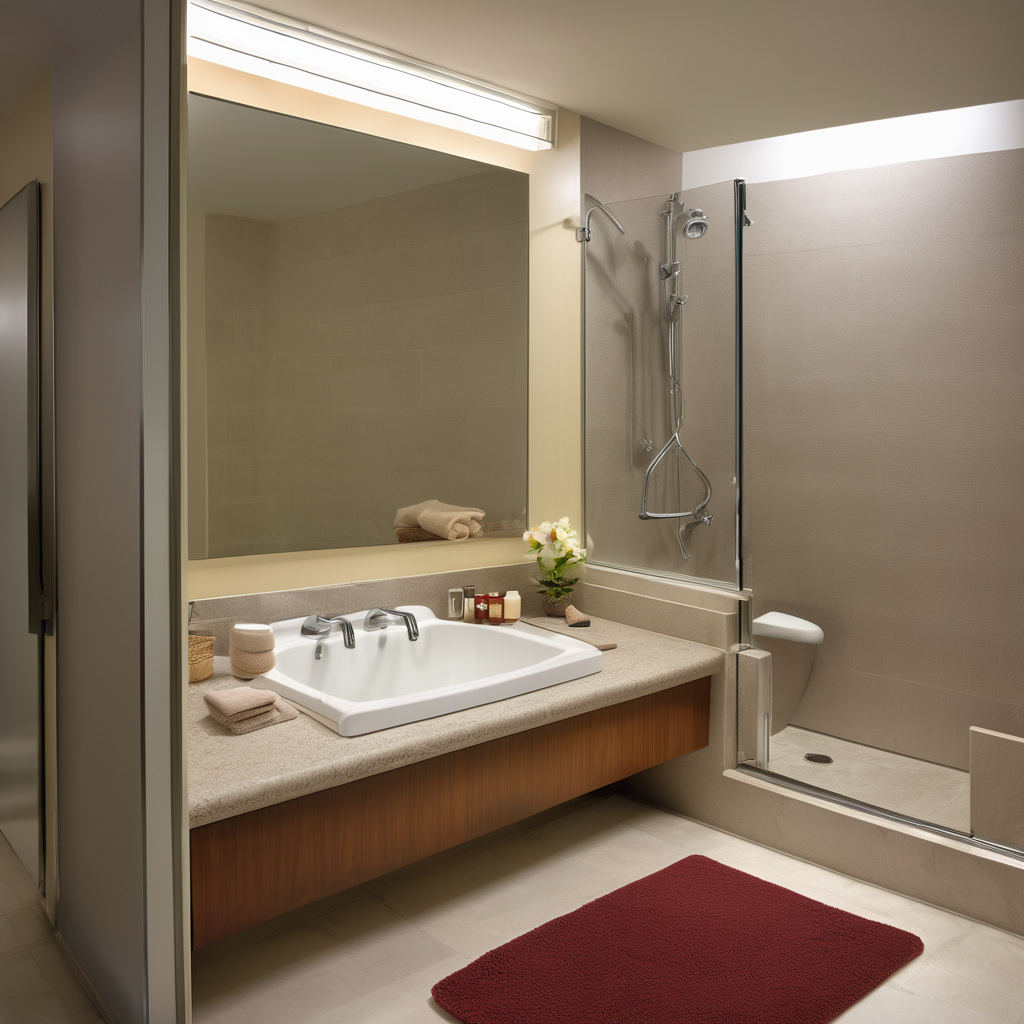
A. Measure the Room's Envelope
Start by creating a simple "bird's-eye view" sketch of the bathroom on your graph paper. Then, record the following:
- Overall Length & Width: Measure from wall to wall. Take at least two measurements for each dimension (e.g., at the front and back of the room) to check if the walls are parallel.
- Ceiling Height: Measure from the finished floor to the finished ceiling.
- Doorway Location & Size: On your sketch, mark the door. Measure its width (from jamb to jamb) and the direction it swings. Note how much space the open door occupies.
- Window Locations: Measure each window's width, height, and the distance from the floor to the bottom of the window sill.
B. Verify Maneuvering Space: The Key to Usability
This is the most critical part of understanding the key dimensions for a wheelchair-friendly bathroom layout. A wheelchair user must be able to enter, close the door, and turn around. The two primary standards are:
- The 60-Inch (5-Foot) Turning Circle: This is the ideal. It allows a standard wheelchair to make a 360-degree turn without hitting any obstructions. Measure your open floor space to see if you can accommodate a clear circle 60 inches in diameter. This space can overlap with knee and toe clearance under fixtures.
- The T-Shaped Turn Space: A practical alternative for narrower bathrooms. This requires a 60-inch by 60-inch "T" shape, with each arm of the "T" being at least 36 inches wide. It allows for a three-point turn.
Phase 3: Measuring for Fixtures and Zones
Now, we zoom in on the specific requirements for each functional area. Document your current fixture locations and measure the available space for new, accessible ones.
The Doorway
A usable bathroom is an enterable bathroom. Measure the clear width of the doorway with the door open 90 degrees. This is the space from the face of the door to the stop on the other side. The minimum is 32 inches, but 36 inches is far more comfortable. Also, measure the threshold height—it should be no more than 1/2 inch high.
The Toilet
Measure the toilet's centerline from the nearest side wall. The ideal range is 16 to 18 inches. You also need to measure the clear floor space around it. A minimum clear space of 60 inches wide and 56 inches deep is required for proper approach and transfer. Finally, measure the current seat height; an accessible "comfort height" toilet should be 17 to 19 inches from the floor to the top of the seat.
The Sink / Vanity
A wall-mounted sink or a vanity with open space underneath is essential. Measure for knee and toe clearance. You need at least 27 inches of vertical clearance for knees, extending from 8 inches deep to 11 inches deep from the front of the sink. The top of the sink or counter should be no more than 34 inches from the floor. Ensure there is a clear floor area of 30 by 48 inches in front of the sink for approach.
The Roll-In Shower
This is a cornerstone of accessibility. The minimum interior dimensions for a roll-in shower are 30 by 60 inches (though 36 by 60 is better) with a threshold no higher than 1/2 inch. Measure the available footprint in your bathroom. This is also where your level is critical: you must plan for a gentle floor slope toward the drain (typically 1/4 inch per foot) to contain water without a curb. A homeowner's guide to measuring for an ADA-compliant bathroom remodel must emphasize this point to prevent water damage.
Phase 4: Planning for Controls, Grab Bars & Accessories
The final set of measurements relates to the placement of essential accessories. Mark these locations on your sketch:
- Grab Bars: Measure and mark locations for grab bars. In the shower, they should be on all three walls. Around the toilet, you need one on the side wall and one on the rear wall. They are typically mounted 33 to 36 inches above the finished floor.
- Controls & Outlets: Light switches, outlets, and shower controls must be within reach. Measure their height from the floor. They should be located between 15 inches (minimum for outlets) and 48 inches (maximum for switches) from the floor.
- Mirror: The bottom edge of the mirror's reflective surface should be no higher than 40 inches from the floor.
With these comprehensive measurements in hand, you have the raw data to begin designing a bathroom that is truly accessible. Transfer your notes and sketch to a clean, scaled drawing. This document is the bridge between your current space and a future of enhanced mobility and independence. For expert guidance in translating these numbers into a beautiful, functional reality, consulting with a Certified Aging-in-Place Specialist (CAPS) is your next best step.
Frequently Asked Questions
What is the absolute minimum size for a wheelchair-accessible bathroom?
While larger is always better, a wheelchair-accessible bathroom can be achieved in a space around 5 feet by 8 feet (40 sq. ft.), provided the layout is meticulously planned. This typically allows for a wall-hung sink, a comfort-height toilet, and a 30" x 60" roll-in shower. However, achieving the ideal 60-inch turning circle often requires a larger footprint, closer to 7 by 8 feet.
Are ADA guidelines a legal requirement for my private home?
No, the Americans with Disabilities Act (ADA) standards are legal requirements for public and commercial buildings, not private single-family residences. However, these guidelines represent decades of research into best practices for safety and accessibility. Therefore, they are universally used as the "gold standard" and a highly recommended blueprint for residential accessible design to ensure maximum functionality and safety.
What's the difference between a "transfer shower" and a "roll-in shower"?
A transfer shower is designed for a user who can transfer from their wheelchair to a built-in shower seat. It has a minimum interior size of 36" x 36" and usually has a small, beveled curb. A roll-in shower is larger (minimum 30" x 60") and has a curbless or "zero-entry" threshold, allowing the user to roll their shower chair directly into the stall without needing to transfer.
Do I need to measure for wall reinforcement for grab bars?
While you can't "measure" for reinforcement in an existing wall, it is absolutely critical to plan for it. Standard drywall cannot support the force a grab bar must withstand (at least 250 pounds). During the remodeling process, you must open the walls in the planned grab bar locations and install solid wood blocking between the studs. Your measurements are crucial for telling the contractor exactly where this blocking needs to go before the new walls are put up.
Ready to Transform Your Home?
Contact us today for your project estimate. We serve West Jordan, South Jordan, Riverton, Herriman, Draper, and all of Salt Lake County.
Have Questions About Your Bathroom or Remodeling Project?
Talk to our licensed Utah specialists about layout, ADA compliance, or custom renovations.