The Ultimate Guide: How to Choose and Correctly Place an Emergency Call Button in the Bathroom

In the pursuit of independent living, few things are as critical as bathroom safety. This in-depth guide provides expert analysis on selecting and strategically placing emergency alert systems to provide immediate help when it's needed most.
The bathroom is statistically the most dangerous room in any home, especially for seniors and individuals with mobility challenges. A combination of hard surfaces, water, and the physical actions of bending, sitting, and standing creates a high-risk environment for slips and falls. While features like grab bars and non-slip flooring are foundational, the final layer of protection is an accessible, reliable emergency call button. But knowing how to choose and correctly place an emergency call button in the bathroom is a science that blends technology, ergonomics, and foresight.
This guide will walk you through every critical consideration, ensuring your safety system is not just present, but perfectly positioned for a real-life emergency.
Part 1: Decoding the Types of Bathroom Emergency Call Systems
Before discussing placement, it's vital to understand the technology available. The right choice depends on the user's needs, the home's layout, and the desired response protocol.
Monitored vs. Unmonitored Systems
- Monitored Systems: These are typically subscription-based services. When the button is pressed, it connects to a 24/7 call center. A trained operator speaks to the user (often through a base station) and dispatches emergency services if needed. This is the most reliable option for individuals living alone.
- Unmonitored Systems: These systems do not involve a call center. When activated, they dial a pre-programmed list of contacts (family, friends, neighbors) or sound a loud local alarm. They are more affordable but rely on the availability of personal contacts.
Hardware Options: Buttons, Cords, and Pendants
The physical activator is just as important as the system behind it. In a bathroom, options must be waterproof and easy to use under duress.
Wall-Mounted Buttons
These are the most common. They should be large, easy to press, and preferably backlit. The key is strategic placement, which we'll cover in detail.
Pull Cords
Often seen in commercial ADA restrooms, pull cords are excellent because they can be activated by someone on the floor who may not be able to push a button.
Wearable Pendants/Bracelets
While great for general home use, they must be 100% waterproof to be reliable in the shower. Users must also remember to wear them consistently.
Voice-Activated Systems
Smart speakers can be configured to call for help. However, background noise from a running shower or a fall could impede their effectiveness.
For comprehensive safety, a hybrid approach is best: fixed wall-mounted buttons/cords in high-risk zones, supplemented by a wearable device.
Part 2: The Critical Guide to Correct Bathroom Placement
A button placed incorrectly is almost as useless as no button at all. The primary rule of placement is to plan for the fall. You must assume the user will be on the floor and unable to stand. We recommend a "Three-Zone" safety approach.
Zone 1: The Shower or Bathtub
This is the highest-risk zone due to slippery surfaces. A fall inside the tub or shower enclosure can be immobilizing.
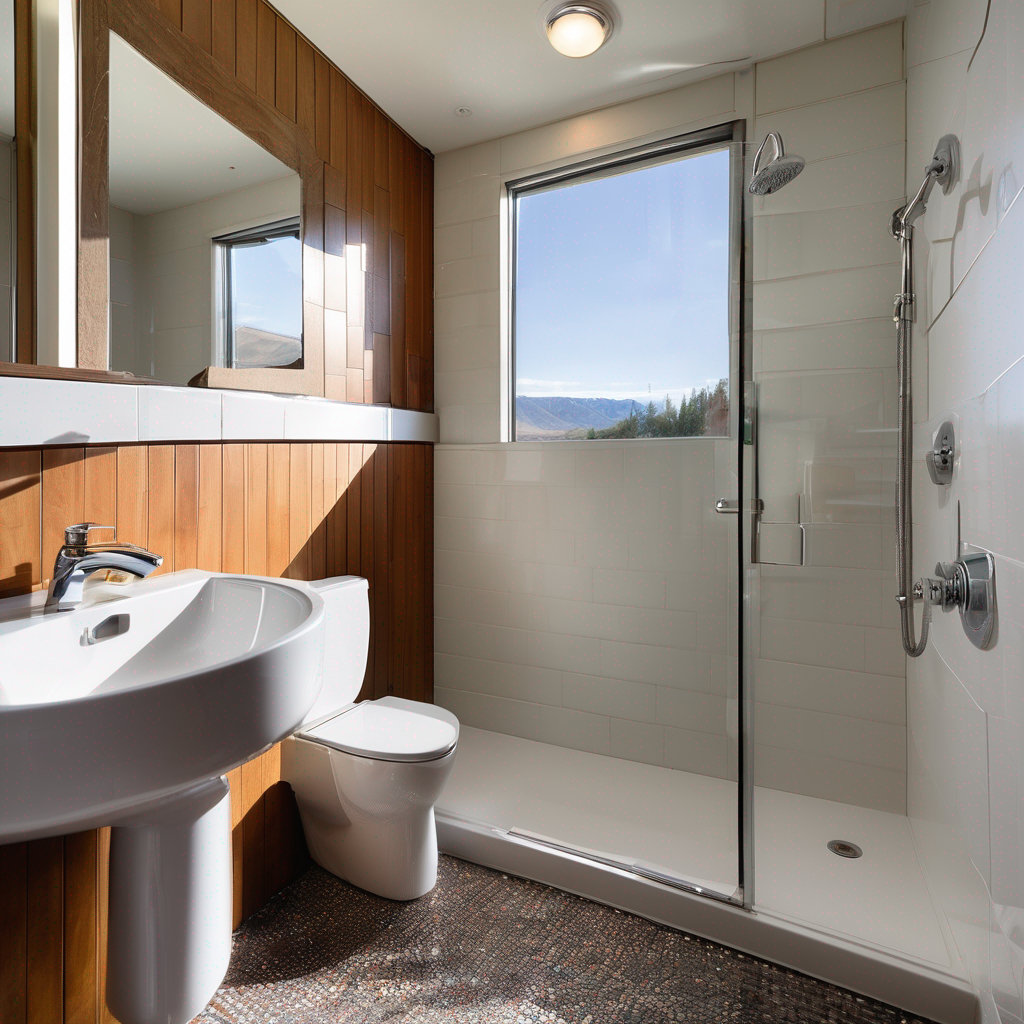
- Waterproofing is Non-Negotiable: The device must have an IP67 rating or higher, meaning it can be submerged without damage.
- Height is Critical: Mount the button on the wall at a height reachable from the shower floor. A good range is 24 to 36 inches from the floor. This allows someone standing or sitting on a shower bench to reach it, but more importantly, someone who has fallen can also activate it.
- Location: Place it on the same wall as the shower controls or adjacent to the shower seat, away from the direct, forceful spray of the showerhead to prevent accidental activation.
Zone 2: The Toilet Area
Transferring on and off the toilet is another common moment for falls, often resulting in the person being wedged between the toilet and a wall or vanity.
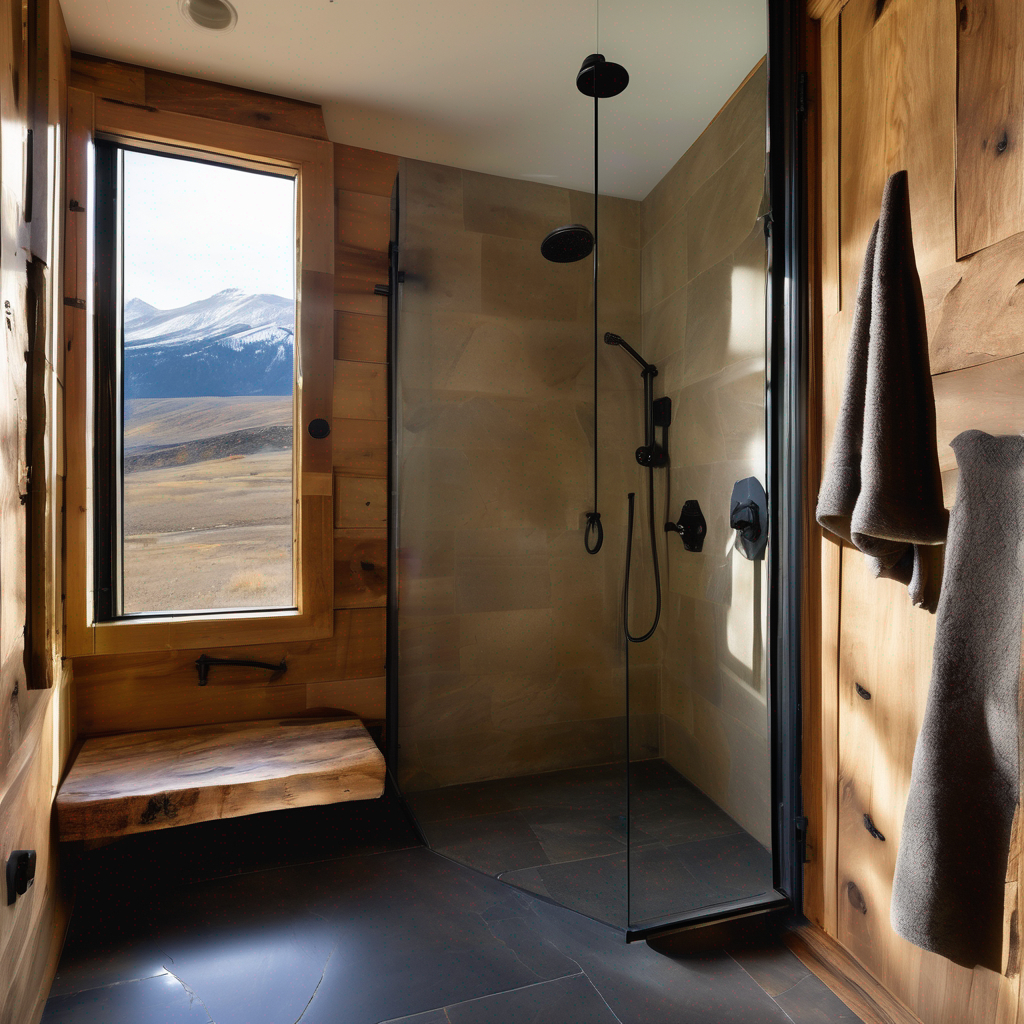
- Best Device: A pull cord is often superior here. The cord can hang down to the floor, making it accessible even if the user has slid down the wall.
- Location: Mount the device on the side wall next to the toilet, within arm's reach from a seated position. Ensure it is not blocked by a grab bar, toilet paper holder, or vanity.
- Cord Length: The pull handle should be no more than 6 inches from the floor, per ADA guidelines for commercial spaces—a best practice for residential installations as well.
Zone 3: The General Floor Area
A fall can happen anywhere. A third button or cord near the doorway provides a final point of contact.
- Location: Place it on the wall just inside the bathroom door, opposite the hinge side, so the door doesn't obstruct it when open.
- Height: This button can be placed at a standard light-switch height (around 42-48 inches), as it's meant to be used when entering/exiting, but a lower placement is always a safer bet.
Part 3: The Importance of Testing and Professional Integration
Once your buttons are placed, the job isn't done. Rigorous testing is mandatory. Lie on the floor in each zone and ensure you can comfortably reach and activate each button. For monitored systems, always call the service provider beforehand to let them know you are conducting a test.
For hardwired systems or installations requiring drilling into tile, professional installation is highly recommended. As part of a comprehensive accessible bathroom remodel, an expert contractor like Urban Design & Remodel can integrate these safety systems seamlessly into the design, ensuring they are not only functional but also aesthetically pleasing and installed to last. A professional understands how to waterproof penetrations in tile and place devices in locations that are both code-compliant and practically effective.
Frequently Asked Questions About Bathroom Call Buttons
No, the Americans with Disabilities Act (ADA) sets standards for public and commercial buildings, not private homes. However, following ADA guidelines—such as placing the pull cord beside the toilet with the handle near the floor—is considered a "best practice" for residential accessible design because the standards are based on extensive ergonomic research for maximum safety.
Wireless buttons use radio frequency (RF) to communicate with a base station plugged into a phone line or cellular network. Modern systems are highly reliable, but it's crucial to check the system's range to ensure it covers the entire home. Always test the button from the farthest point in the bathroom. The main advantage is ease of installation without needing to run wires, while the primary maintenance task is monitoring and replacing batteries.
The ideal solution is both. Fixed buttons are 100% reliable in their specific zones, as they can't be forgotten or taken off for charging. A wearable pendant provides coverage between those zones and throughout the rest of the house. If you must choose only one for the bathroom, fixed wall-mounted buttons are generally safer because a fall can knock a pendant off or render it unreachable.
Yes, you can configure smart speakers to call a specific contact or even 911 (with certain services). However, they should be considered a supplementary system, not a primary one. The noise of a running shower, a fan, or the sound of the fall itself can prevent the device from hearing the "wake word." Furthermore, a person may be injured or disoriented and unable to speak the required command clearly. A physical button is more reliable in a high-stress emergency.
Ready to Build a Safer Bathroom?
An emergency call button is a vital part of a truly accessible bathroom. Our experts specialize in designing and building beautiful, ADA-compliant spaces with integrated safety features. Let's create a bathroom that offers total peace of mind.
Have Questions About Your Bathroom or Remodeling Project?
Talk to our licensed Utah specialists about layout, ADA compliance, or custom renovations.