
Bathroom Accessibility Deep Dive
The Complete Guide to Selecting and Installing an Accessible Toilet Riser


In the architecture of an independent life, few elements are as fundamental—yet as overlooked—as the toilet. For millions, a standard-height toilet can be a daily obstacle, posing a risk to safety and a challenge to dignity. This is where the accessible toilet riser emerges not just as a piece of equipment, but as a cornerstone of empowerment. This guide provides an exhaustive look into the world of toilet risers, ensuring you can make an informed, confident decision.
Understanding the 'Why': The Foundational Importance of a Raised Toilet Seat
A toilet riser, also known as a raised toilet seat or toilet seat extender, is a specialized plumbing fixture designed to increase the height of a toilet seat. By reducing the distance one has to lower and raise themselves, it dramatically decreases the physical strain on the knees, hips, and back. This simple modification can be life-changing for:
- Seniors and the Elderly: Enhancing stability and reducing the risk of falls, a leading cause of injury in older adults.
- Post-Surgery Patients: Individuals recovering from hip, knee, or back surgery where bending is restricted.
- Individuals with Chronic Conditions: People with arthritis, muscular dystrophy, or other conditions affecting mobility and strength.
This comprehensive manual on selecting and fitting an accessible toilet riser will walk you through every critical decision point, from material science to the final tightening of the bolts.
The Anatomy of Choice: A Taxonomy of Toilet Riser Types
Not all risers are created equal. Understanding the primary categories is the first step in a successful selection process. Each design offers a unique balance of stability, ease of installation, and features.
1. Toilet Seat Risers (The All-in-One)
These models replace your existing toilet seat and lid entirely. They bolt directly onto the toilet bowl using the same holes as a standard seat, but with longer bolts to accommodate the added height.
- Pros: Excellent stability when properly installed, often available with integrated support arms, provides a seamless look.
- Cons: Installation is more involved than a topper; may not fit all toilet models perfectly.
“For long-term use, a bolted toilet seat riser with integrated arms offers the gold standard in safety and psychological assurance.”
2. Toilet Toppers / Overlays (The Portable Solution)
These are the simplest type of riser. They are typically single-piece molded plastic units that sit directly on top of the toilet bowl rim, under the existing toilet seat. Most use clamps or dials to secure them in place.
- Pros: No-tool installation, highly portable for travel, most affordable option.
- Cons: Can be less stable than bolted models, may shift if not secured tightly, can create cleaning challenges.
3. Toilet Spacers (The Discreet Riser)
For those who prioritize aesthetics, a toilet spacer is a hard-plastic ring installed underneath the base of the entire toilet. It raises the whole fixture, making the modification nearly invisible. This is not a DIY job for the average homeowner.
- Pros: Extremely stable, uses your original toilet seat, completely discreet.
- Cons: Requires professional plumbing installation (draining the toilet, replacing the wax ring), most expensive option.
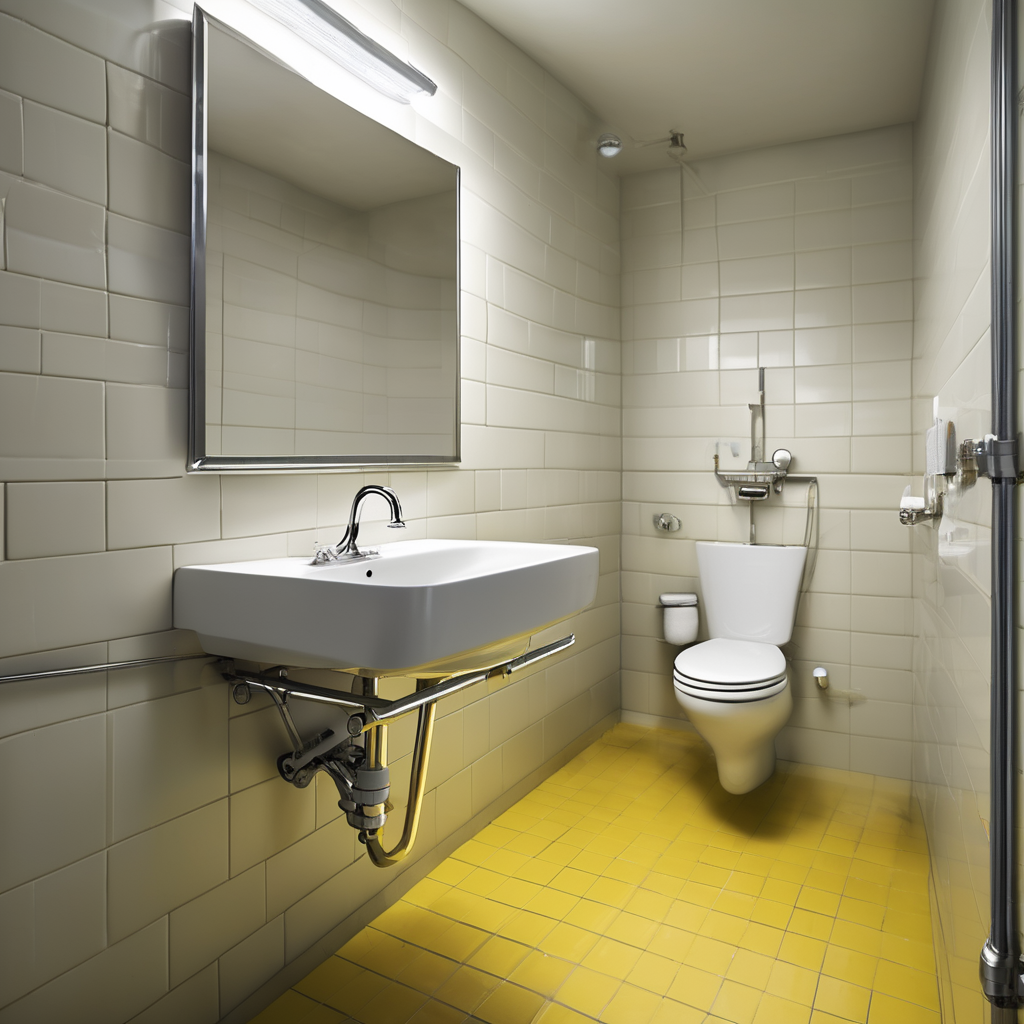
The Master Checklist for Selecting Your Toilet Riser
Navigating the options requires a methodical approach. Use this checklist, a core part of our guide to selecting and installing an accessible toilet riser, to ensure you make the right choice.
- Measure for Height: The ideal height allows the user to sit with their feet flat on the floor and their knees at a roughly 90-degree angle. Have the user sit in a chair of the perfect height, then measure from the floor to the back of their thigh. Subtract the height of your current toilet seat from this number to find the required riser height (typically 2 to 5 inches).
- Confirm Toilet Shape: Toilets come in two primary shapes: round and elongated. A riser designed for one will not fit securely on the other. Measure your bowl from the seat bolt holes to the front edge to confirm.
- Verify Weight Capacity: Every riser has a manufacturer-specified weight limit (usually 250-500 lbs). This is a non-negotiable safety specification.
- Assess the Locking Mechanism: For toppers and seat risers, examine how it secures. Look for robust, easy-to-tighten clamps or long steel bolts. A wobbly riser is a dangerous riser.
- Consider Support Arms: Does the user need extra help standing and sitting? Models with integrated, padded arms provide crucial leverage points. Ensure they are wide enough for comfort and strong enough for full support.
- Prioritize Ease of Cleaning: Look for smooth, non-porous plastic surfaces. Risers with fewer seams and crevices are easier to keep sanitary. Some models feature quick-release mechanisms for deep cleaning.
A Pro's Guide to Installing a Toilet Riser
We will focus on the most common installation: a bolted toilet seat riser. While this process is manageable for many, if you have any doubts, consulting a professional handyman or plumber is always the safest choice.
Tools and Preparation
- A socket wrench or pliers
- A flathead screwdriver
- Disinfecting cleaner and paper towels
- Your new toilet riser kit (with long bolts)
Step-by-Step Installation Protocol
- Remove the Old Seat: Locate the plastic caps at the back of your toilet seat. Pop them open with a screwdriver to reveal the bolt heads. On the underside of the toilet bowl rim, you'll find nuts (often plastic wing nuts). Hold the nut with pliers while unscrewing the bolt from the top. Lift the old seat off.
- Thoroughly Clean the Surface: This is the perfect opportunity to deep-clean and disinfect the toilet bowl rim where the old seat sat. A clean surface ensures a better, more stable fit.
- Position the New Riser: Place the new toilet riser onto the bowl, carefully aligning its holes with the bolt holes on the porcelain.
- Insert and Hand-Tighten Bolts: Insert the new, longer bolts provided with your kit through the riser's holes and into the toilet. Thread the nuts onto the bolts from underneath and hand-tighten them until they are snug.
- Secure and Test: Using your wrench, tighten the bolts until the riser is completely immobile. Alternate between tightening the left and right sides to ensure even pressure. Do not overtighten, as this can crack the porcelain. Once secure, press down firmly on all sides of the riser. It should not shift, wiggle, or rock in any direction.
Frequently Asked Questions
Can I use a toilet riser with a bidet seat?
What's the difference between a toilet riser and a "comfort height" toilet?
How do I clean a toilet riser effectively?
Are toilet risers covered by Medicare or insurance?
Choosing and installing an accessible toilet riser is a profound investment in safety, independence, and quality of life. By following this expert guide, you are equipped with the knowledge to select a device that not only fits your toilet but, more importantly, fits your life.
Have Questions About Your Bathroom or Remodeling Project?
Talk to our licensed Utah specialists about layout, ADA compliance, or custom renovations.