Building a new bathroom from the ground up—or undertaking a gut renovation—is a rare opportunity. It's a chance not just to update aesthetics, but to embed deep, future-proof functionality into the very bones of your home. An accessible bathroom isn't a clinical, sterile space; it's a testament to thoughtful design, a sanctuary that provides safety, independence, and comfort for every member of the family, now and for decades to come. This is universal design at its best.
But achieving this level of foresight requires meticulous planning *before* the first wall is framed. Decisions made during the pre-construction phase are far less expensive and disruptive than retrofits down the line. This is why the ultimate accessible bathroom pre-construction checklist for homeowners is not just a list of features, but a strategic roadmap to a better-built home.
Phase 1: Blueprint & Big Picture Planning
Before a single hammer swings, the most critical work happens on paper and in conversation. This foundational phase of your pre-build checklist for an accessible bathroom sets the stage for success and prevents costly changes later.
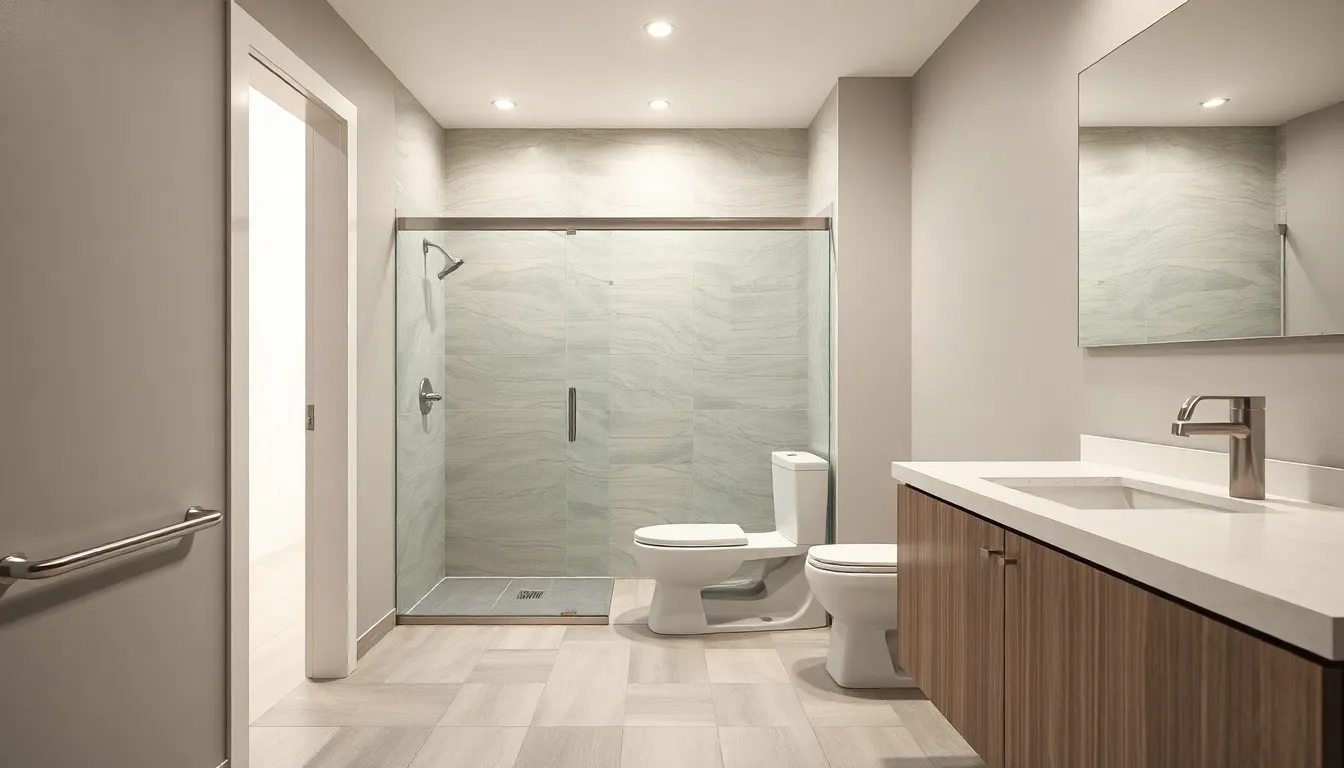
- Master the Layout & Space. True accessibility is defined by clear floor space. Plan for a minimum 60-inch (5-foot) diameter turning circle for wheelchair users. Doorways should be at least 34-36 inches wide with offset hinges to maximize clearance. Pocket doors are an excellent space-saving alternative to traditional swing doors.
- Assemble Your A-Team. Don't go it alone. Your team should include a contractor experienced in universal design. Consider hiring a Certified Aging-in-Place Specialist (CAPS) or an occupational therapist. Their expertise in the nuances of mobility and daily living can transform a good design into a great one.
- Budget for Longevity. While some accessible features may have a higher upfront cost, view them as an investment in your home's long-term value and your own future independence. Planning ahead prevents the much higher costs of emergency retrofitting.
Phase 2: Framing, Walls & Structural Essentials
What's behind the drywall is arguably the most important part of planning a fully accessible bathroom from scratch. These structural considerations are nearly impossible to add later without significant demolition.
- Critical Wall Reinforcement. This is non-negotiable. Install solid 2x6 or 2x8 wood blocking between the wall studs in all areas where grab bars might be needed in the future: around the toilet, inside the shower, and along pathways. This provides a secure anchor point that drywall alone cannot offer.
- Strategic Electrical & Plumbing. Place light switches (rocker-style is best) and electrical outlets at a lower, more accessible height (around 36-42 inches from the floor). Position the plumbing for a wall-mounted or roll-under sink. In the shower, rough-in plumbing for both a fixed showerhead and a handheld sprayer on an adjustable slide bar.
Phase 3: Fixtures & Finishes - The Details That Matter
With the structure in place, the focus shifts to the tangible elements. This part of your homeowner's guide to accessible bathroom design is where functionality meets daily use.
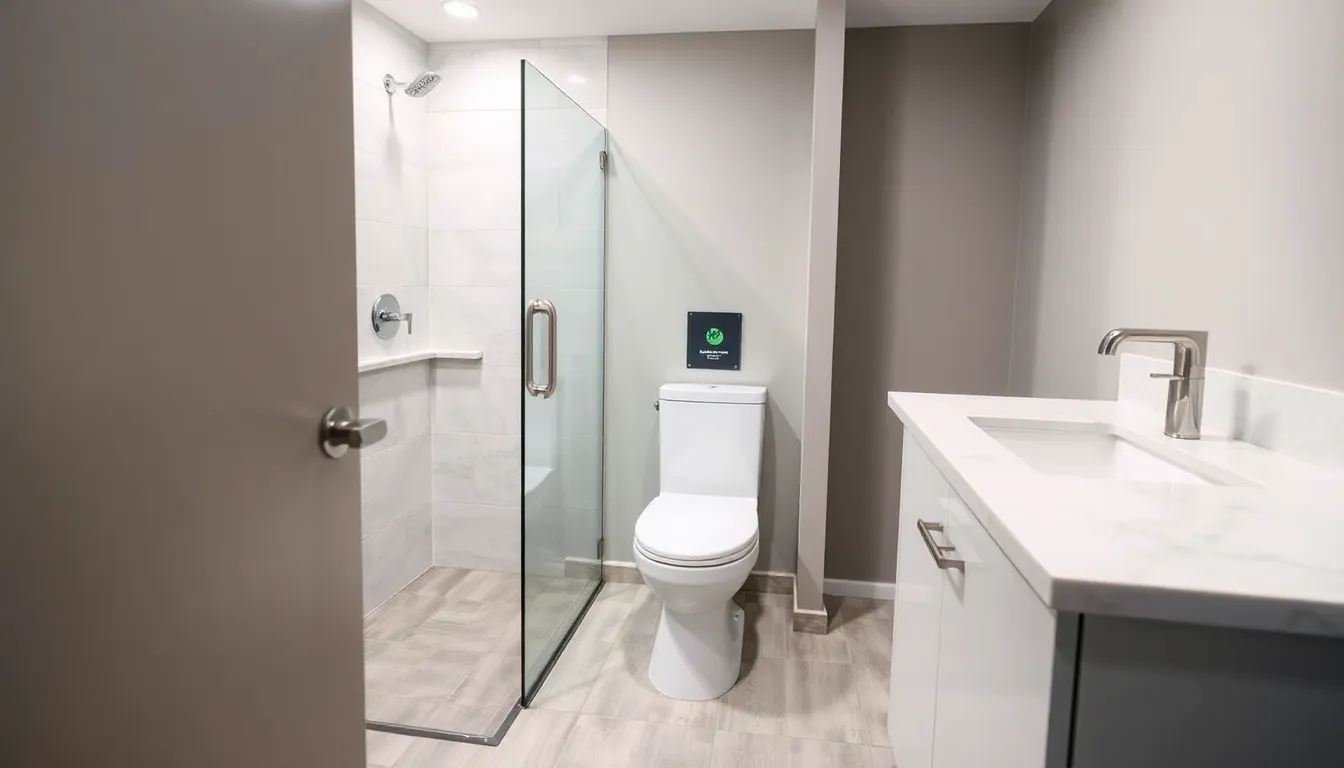
- Zero-Threshold Shower. This is the gold standard. A curbless, or zero-threshold, shower allows easy roll-in or step-in access. Plan for a slight, imperceptible slope in the floor towards a linear drain. Include a built-in or fold-down shower bench.
- Smart Seating & Sinks. Opt for a "comfort height" toilet (17-19 inches high). For the sink, a wall-mounted or floating vanity provides clear knee space for seated users. Choose a single-lever faucet or a touchless model for ease of use.
- Flooring & Lighting. Safety underfoot is paramount. Select a non-slip, matte-finish tile with a high DCOF (Dynamic Coefficient of Friction) rating. For lighting, use a layered approach: bright ambient overhead light, task lighting at the vanity, and integrated, low-level night lights for safe navigation after dark.
Frequently Asked Questions
Navigating the ADA bathroom requirements checklist for new construction can bring up many questions. Here are some of the most common inquiries we address during the planning phase.
What's the difference between "accessible" and "ADA-compliant"?
This is a crucial distinction. "ADA-compliant" refers to strict standards mandated by the Americans with Disabilities Act for public and commercial spaces. While these are an excellent starting point, a residential "accessible" or "universal design" bathroom can be customized to the specific needs of the homeowner. For example, you can place grab bars at a height that is perfect for you, which might differ slightly from the rigid ADA specification. The goal in a home is personalized function, not just code compliance.
Do I really need to install grab bars now?
You don't have to install the grab bars themselves, but you absolutely must install the in-wall blocking during pre-construction. This is the most important takeaway. Adding blocking later requires tearing out tile and drywall, a messy and expensive process. By installing the reinforcement now, you give yourself the option to add stylish, secure grab bars at any point in the future with a simple installation process. Many modern grab bars are beautifully designed and double as towel racks or shelves, seamlessly blending into the decor.
Is a curbless shower more likely to leak?
When built correctly by a qualified professional, a curbless shower is no more likely to leak than a traditional one. The key is proper pre-construction planning. This involves recessing the shower floor structure slightly, using a high-quality topical waterproofing membrane (like Schluter-KERDI) that extends well beyond the shower area, and ensuring the floor has the correct, subtle slope towards a high-capacity linear drain. Proper installation is everything.
How much more does an accessible bathroom cost to build?
The cost difference can vary widely, but when integrated into a new build or major remodel, the incremental cost is often less than homeowners expect. The wood for blocking is a minor material expense. The primary cost drivers are typically the curbless shower construction (due to the skilled labor for waterproofing and tile setting) and specialized fixtures. However, these costs are significantly lower than a post-construction remodel and add tremendous long-term value and safety to your home, making it a wise investment.